Day 26: Finishing the joint, making it equal to the height of the body sides and inserting an acoustic pipe between the neck and the soundbody.
Tag Archives: SitarMaking
Fitting the joints
Day 23 & 24 : Worked 2 days to make the joints fit perfectly. A very precise job.
The joint
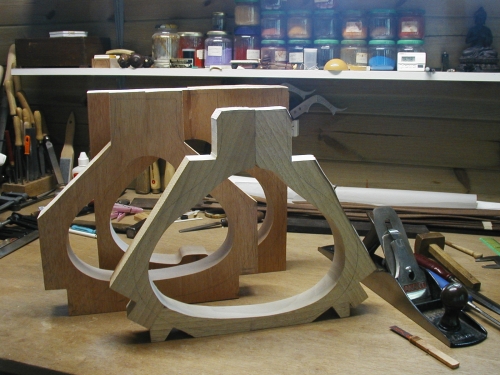
Talking about a joint here means the connection between two different wooden parts of the instrument: the neck and the body. It is a very important item covering strenght and stability. The body is tilted 4° backwards and 2° downwards according to the neck’s axis. This doesn’t make it more easy.
New beginning continued…
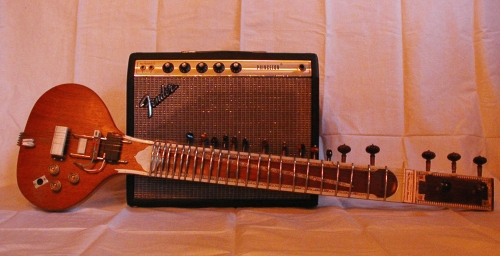
The Solid Body Sitar
Finally another 3…
Day 16, 17 & 18 : Cutting out these 2 necks is very tough. The African mahoganies texture changes frequently it’s direction. One of the necks is cut out with a miller.


And another 3…
Day 13 & 14 : Working on the neck’s backside profile. Drawing the second cut’s borders and removing the wood. Drawing the neck’s inside borders and cutting out the wood with a gouge.
Day 15 : Continuing the neck’s cutting out.
The neck’s backside is now made of 7 surfaces. I didn’t touch the border between the neck and head to be able to clamp the piece.

First neck’s cut out is completed.

The next 5 days…
Day 8: Drawing out the head and making an accurate mould in plywood.
Day 9 and 10: Copy the headstock onto the wood using the template, cut it out and finish the sides. Mill out the profile for the construction of the tuning keys + finish the transition. Draw the profile of the joint on the neck.
Day 11: Finish the neck profile joint + glue the heads on.
Day 12: Remove upper part of transition from neck to headstock + measure length of neck and saw joint roughly. Drawing the profile back of the neck and rough shaping it with cuts. First cut.
Here is the mould for the head and a first specimen sawn out and roughly finished.

Overview of the first 7 days
Day 1 and 2: Drawing of plans starting from a beautiful red sitar of Tine, specially built for her by Hari Chand.
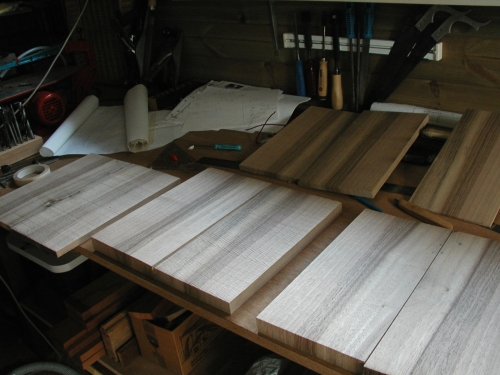
Day 3: Selecting and dividing the wood. Some wood was bought a few years earlier in Puurs (CMB). One large piece of walnut, several pieces of Honduras mahogany and two pieces of African mahogany. + Drawing of rough pieces for body and neck.
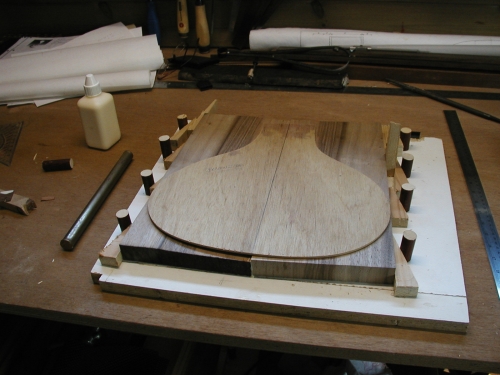
Day 4: Rough sawing and glueing of the body. Completely made out of walnut. One back and one front are glued.
Day 5 : Further glueing of the body pieces from walnut. Another back and two fronts now ready and glued. One more night of drying…
Day 6 : Drawing, sawing and gluing of the top of the neck. Two pieces made out of mahogany and one out of walnut.
Day 7 : Drawing, sawing and glueing of the heads. All three are made out of mahogany. One will also get a top in walnut. + Drawing and sawing of the neck. Two pieces of African mahogany sawn at an angle, ready for gluing on the heads. The third piece, which was a bit too thin, has been made thicker at the back with surplus walnut.
Here the necks’ bottoms in African mahogany.

New Beginning
A new piece of creation is born…


Rarara, what will it be ??
Have a guess …?


